Tuesday, November 13, 2012

Park Day with our Homeschool friends


What a great time we had today at the park with our homeschool friends! The weather was amazing and the kids had a blast. We had over 80 people show up and a huge Thanksgiving feast complete with turkey, ham, potatoes, pasta, deserts, and just too many things for me to name (or remember). Our homeschool group is so awesome and we are very blessed to be a part of it. I couldn't imagine where we would be without the support of these inspiring individuals.
Pin It Now!

Monday, November 12, 2012

~Melted Crayons and Cotton Swab Art~


   This is a very good project to do if you have some broken crayons that you don't know what to do with, or if you simply want to have some fun (the crayons don't have to be broken up)! All you need is a warming plate (griddle), a muffin pan, paper, some Q-tips, and crayons.


Turn your griddle on to the lowest heat, Take the muffin pan and place the broken crayons into the holes (one color to each space). After the crayons have melted, get out your paper and Q-tips. Dip the Q-tip into the melted crayons and make short, quick strokes onto the paper. Only use one Q-tip per color if you don't want the colors to mix. We found that with the Rose Art brand you can make much longer strokes because it dries slower than the Crayola brand.
Pin It Now!

Thursday, November 8, 2012

Bottle Rocket ~ Newton's Third Law of Motion

   Who doesn't like rockets? Besides the fact that they are pretty cool looking, you can watch them launch up into the air. We will show you how we made a rocket using Newton's third law of motion which states that when a force acts on an object, the object will push back in the opposite direction with equal force.


You Will Need:
•Empty plastic bottle
•Card-stock
•Tape
•A cork
•Air pump with needle adapter
•Water


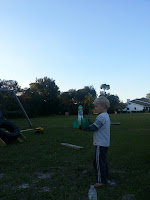
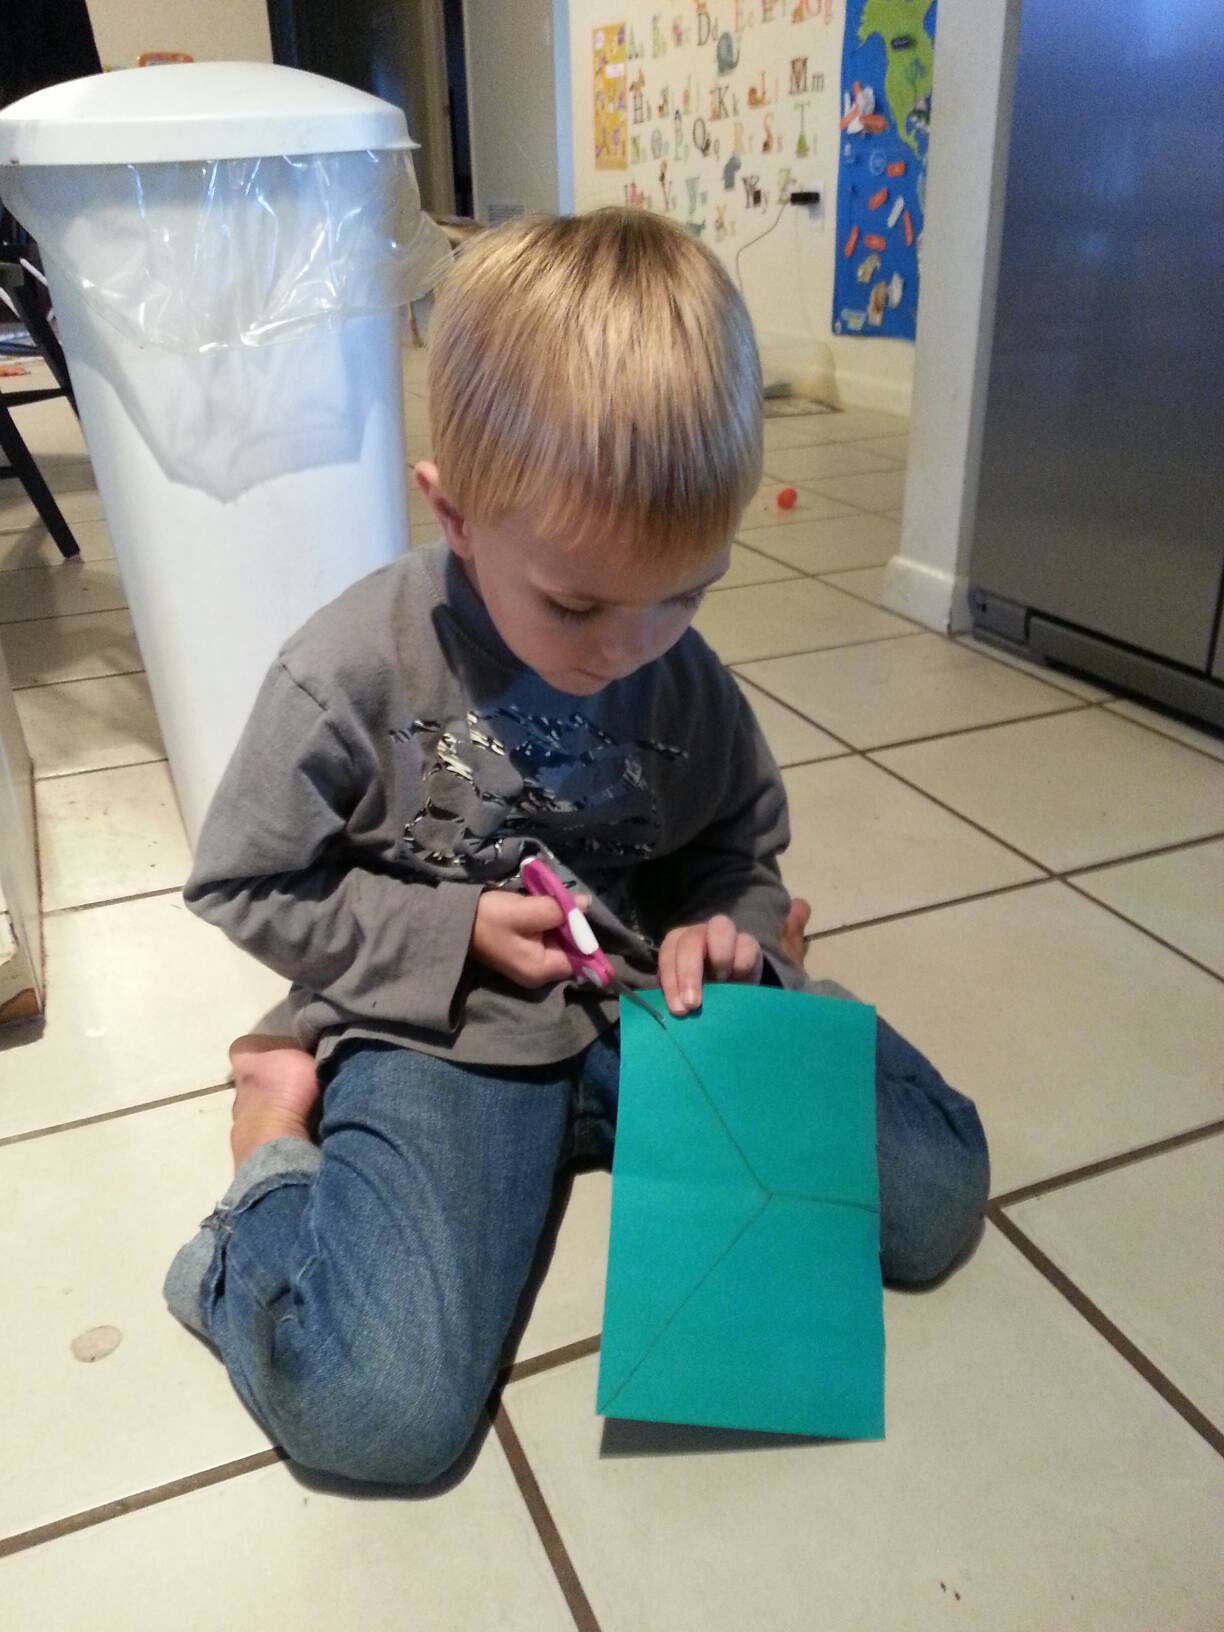
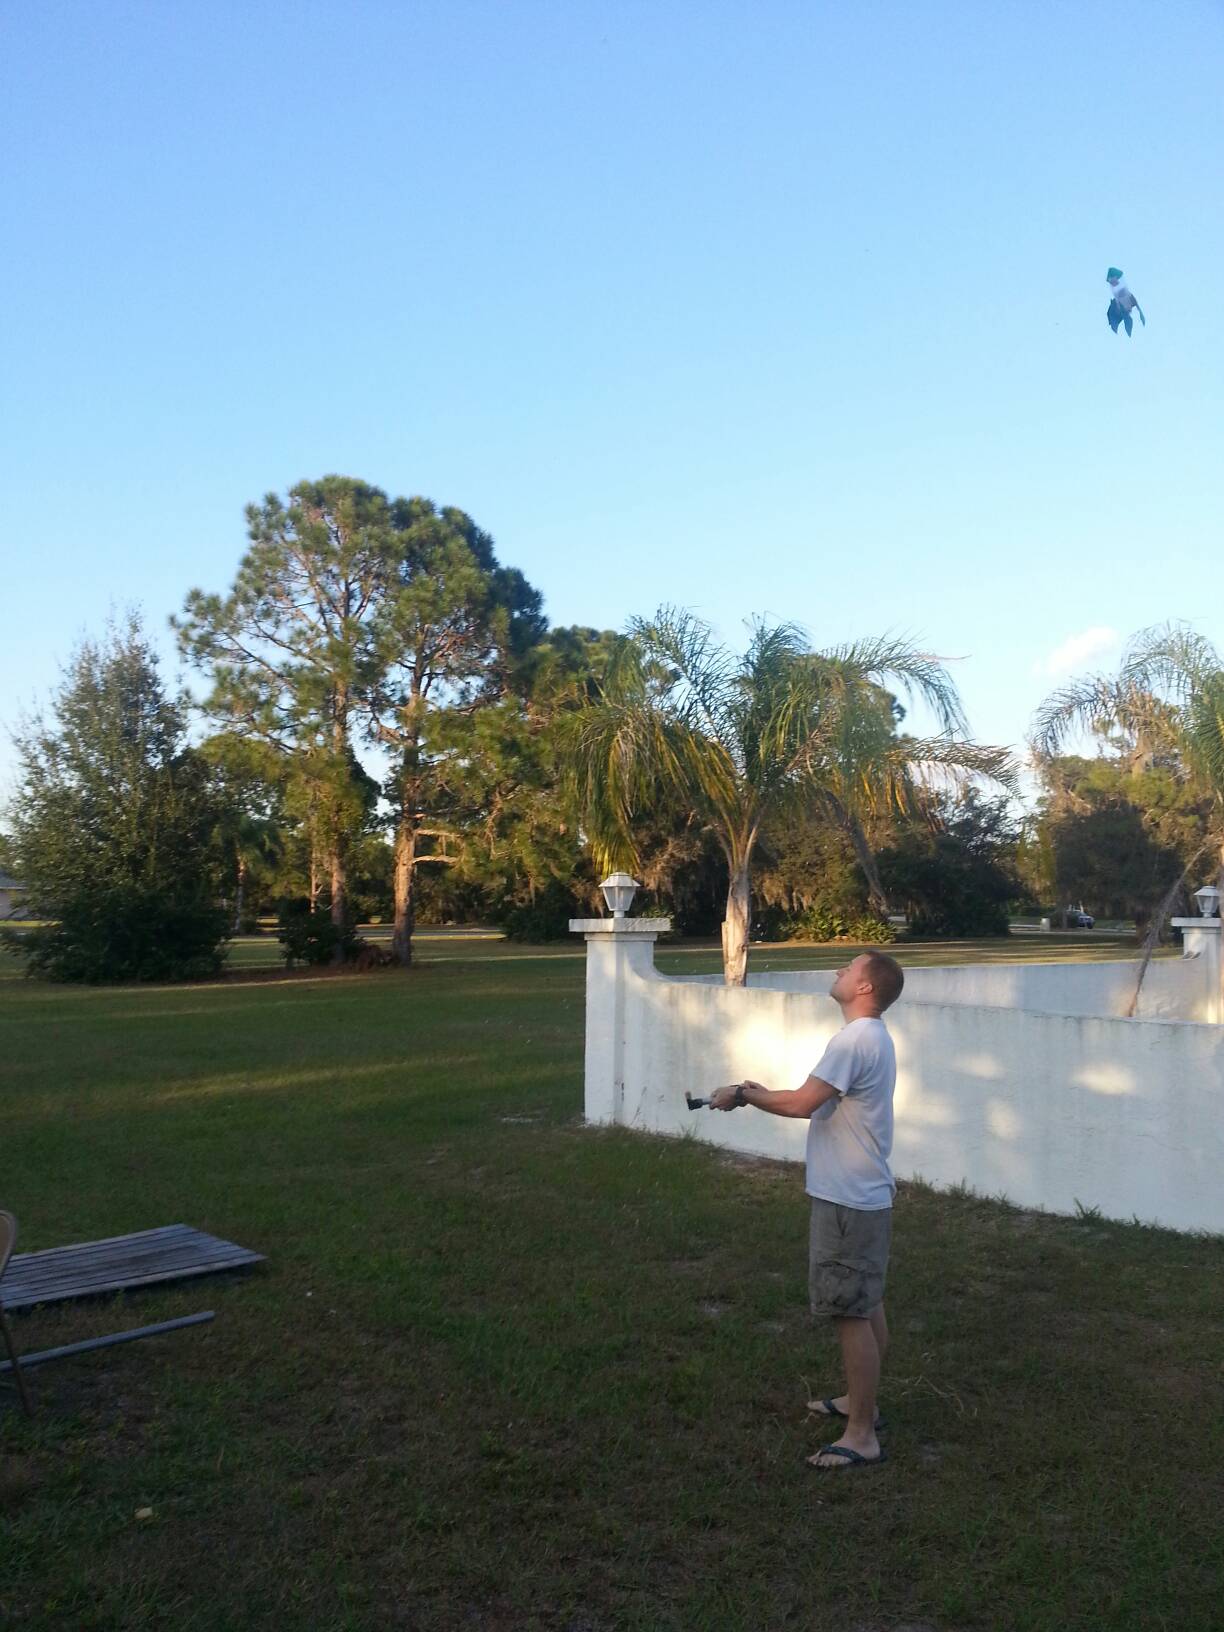
   First use the card-stock and tape to decorate your rocket anyway you would like (we cut out four fins for the sides and a cone for the top). After you're done with that fill a quarter of your bottle with water. Take the cork and press your needle adapter to your pump all the way through it. Next place the cork inside the mouth of the bottle and attach the back of the needle adapter to your pump. Start pumping air into the bottle, making sure to aim it away from you and anyone else, after a few seconds you should have liftoff!


Pin It Now!

Wednesday, November 7, 2012

Marble Art


   Having fun with paint and marbles!!! All you need is some liquid paints, construction paper (any color), a baking sheet, tape, and a marble. Just take the construction paper and tape it to your baking sheet (just 2 small pieces will do for each side). Place a couple dollops of paint anywhere on the construction paper you like. Then place the marble on the construction paper and start tilting and moving the baking sheet around to get the marble rolling. Do this until the marble is no longer making a trail of paint. Luckily we did this on the porch since the boys got excited and the marble went flying out of the baking sheet a couple times!


Pin It Now!

Tuesday, November 6, 2012

*~Painting Foil with Crayons~*

   This can be an exciting project to do with children, but it can also be very dangerous if they are not informed how to stay away from the hot spots (besides the obvious areas, the sides and under the warmer can burn as well) and monitored carefully! So please keep a very close eye on your children at all times during this activity. Also enjoy and have fun!

   All you need for this project is some aluminum foil, crayons, and a warming tray (we used a presto griddle on the lowest setting). Simply cover your warming tray with foil before turning it on. After you turn the tray on, get out the crayons and draw!


   Another way to have fun with this project is to get a piece of printer paper, set it on top of the painted foil, lightly press down on the paper with an oven mitt, then carefully lift the paper from the foil. You end up with the print from the foil smudged onto the paper! After the paper dries it has a very rough texture the kids really enjoyed.

Pin It Now!

Monday, November 5, 2012

Geodesic Dome made from Recycled Newspaper

   How to turn your old newspapers into a fun play structure for kids!

You will need:
- 100 full-size sheets of newspaper
- Pencil
- Scotch tape

   The dome requires 25 newspaper logs. Each log consists of 4 sheets of newspaper stacked on top of each other and rolled together. Just set the pencil in one corner and roll up the sheets diagonally. The pencil is just used as a guide, so try not to roll it up too tight, you want it to be able to slide out after you've rolled the papers. Then make sure to tape it so it doesn't came apart. Repeat these instructions until you have 25 logs.


   After you have all 25 logs, set 5 of them to the side for later. With the remaining 20 logs you will make a triangular pattern as shown in the picture below. Taping all the ends together so it doesn't come apart (make sure to have plenty of room, its about 14 ft long).


   Take the entire pattern you just made out of newspaper logs and stand it up very carefully so you can attach the ends to each other, creating the base for your structure. When you have the ends attached and it's standing up on its own, get out the 5 logs you set aside. There are 5 points on the top of the base, place each extra log at these points and tape them in place. After you have them taped to the base, take the ends that are loose and tape them together so that they come to a point at the top of the structure.


Now all that's left to do is enjoy! We placed a king size sheet over ours to create a pretty unique fort (queen size sheets are too small). The boys are having lots of fun with this dome and are asking to slap some paint on it next, which I think is a great ideal. Enjoy!


Pin It Now!

Thursday, November 1, 2012

Creating Masterpieces from Crayon Shavings

   Don't know what to do with all those broken crayons you have lying around? Well there is a number of creative things to do with them, and we will show you one that you and your kids (or grand-kids) are sure to love.
 
Materials:
*Broken crayons
*Knife or Cheese grader
*Plates or Bowls
*Paper (any color)
*Aluminum foil
*Iron


  All you do is take your knife or cheese grader and start shaving away the broken crayons into a plate or bowl (I used one plate for each color). After that take your paper and fold it in half. Open the paper and let your child place the crayon shavings on one side of the paper. When your child is satisfied with the amount of shavings on his paper, refold the paper and place some foil over top of it (you might want to put some foil under the paper as well because the crayons will bleed through the paper). Take your iron (set on high) and rub it over the tin foil a couple of times. Then you simply remove the tin foil and gently open the paper while it is still warm. The melted crayon shavings will make a very cool and symmetrical design on the paper. Dries in a mater of seconds so you can hang it up right away!


Pin It Now!

counter